
Now that your have gathered + sorted your items, it’s time for the next phase: Cleaning, Prep, and Pricing!
This is the exciting part when you get to see the prices for your items add up and the potential of your earnings! 💰There is a reason why so many families choose to sell at JBF season after season…the earnings on sold items are much higher than what can typically be made by selling at resale shops that pay you pennies, online selling platforms, or marketplace meet-ups.
And what’s more fun than knowing that there’s 400 other local families doing this event together?! ♻️ So amazing!


Your items are sorted and cleaned, now it’s time to prepare to tag!
CLOTHING
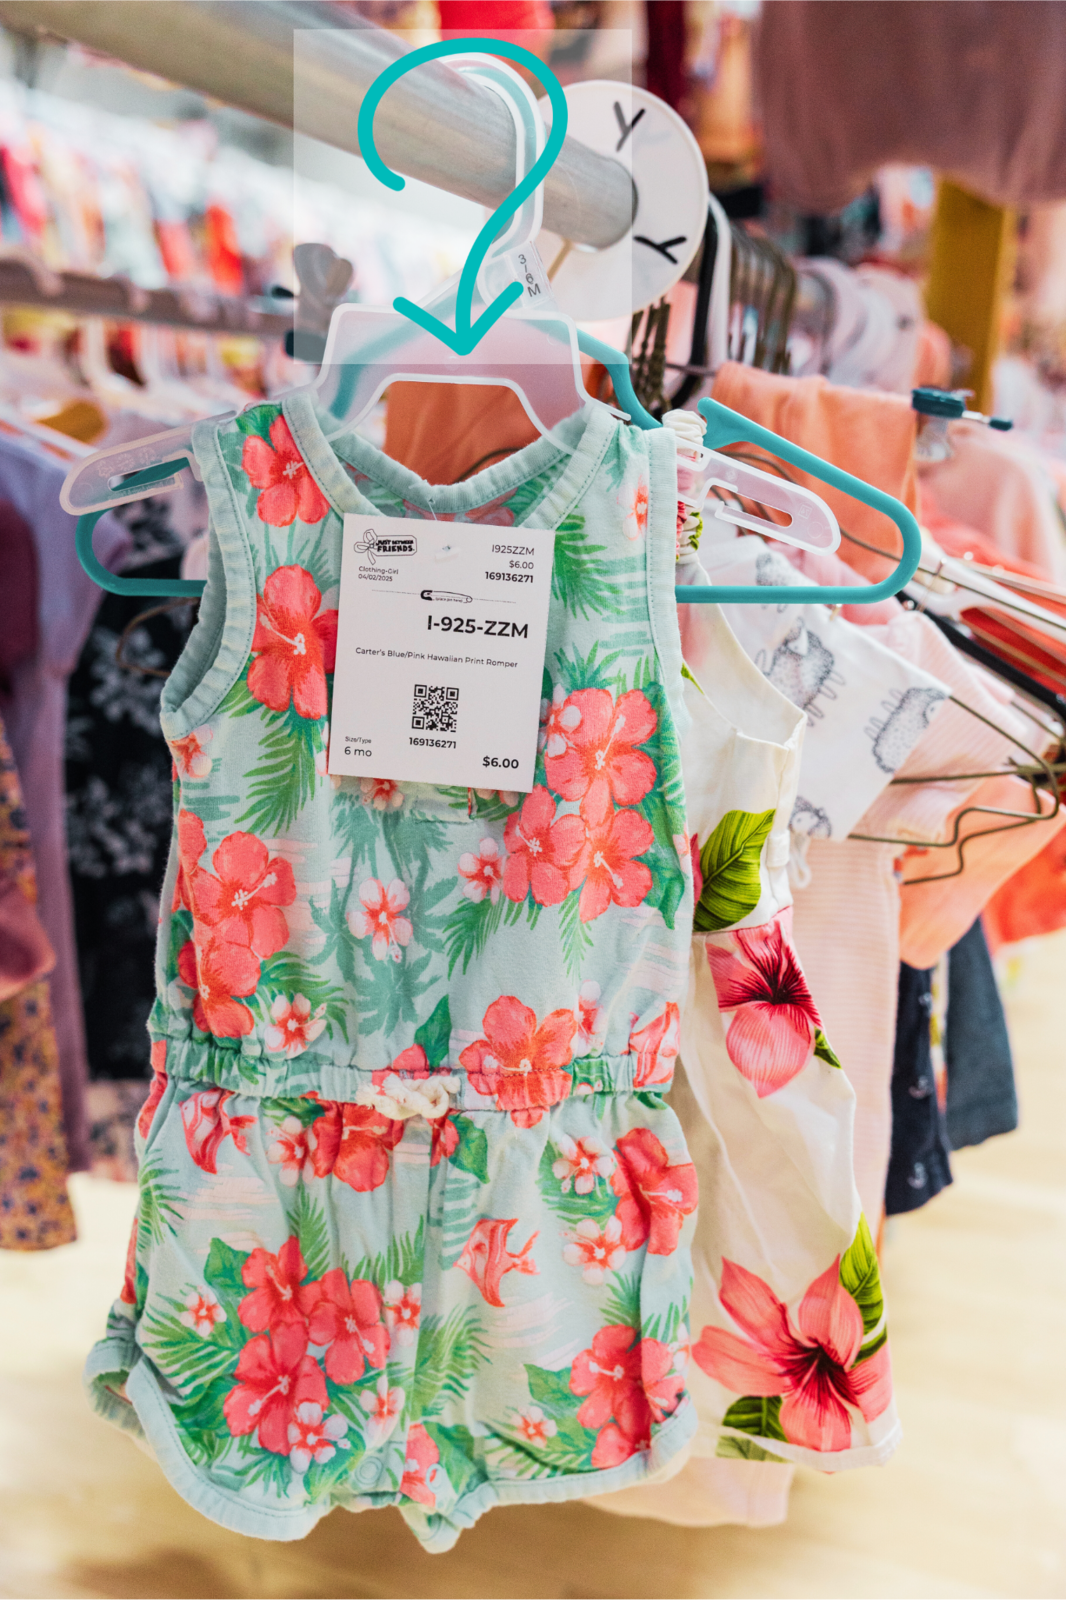
Start by placing all clothing on hangers. Your hanger should be in the orientation of a question mark ❓ when looking at the item from the front

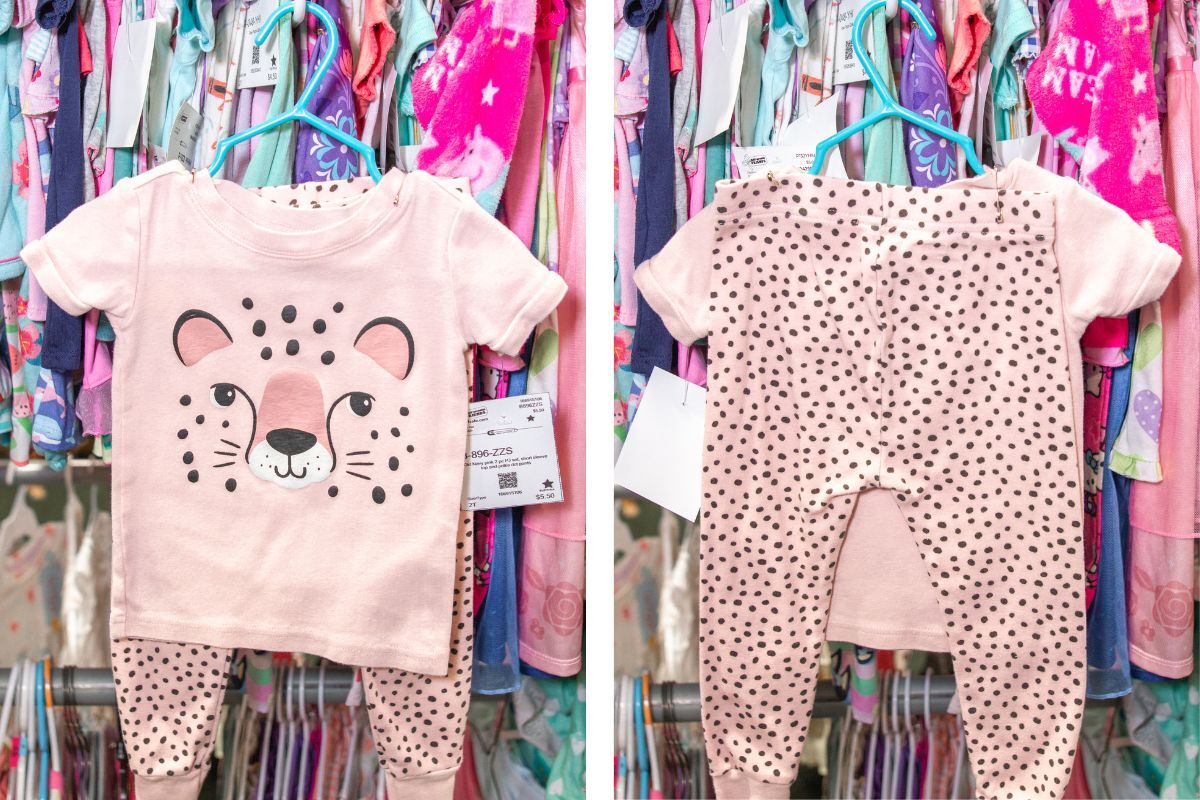
PRO TIP: Bundle, bundle, bundle! If you have like-items in the same size, bundle them together on one hanger, secured with safety pins. Shoppers love a good deal and this is also a great way for you to save time and hangers!
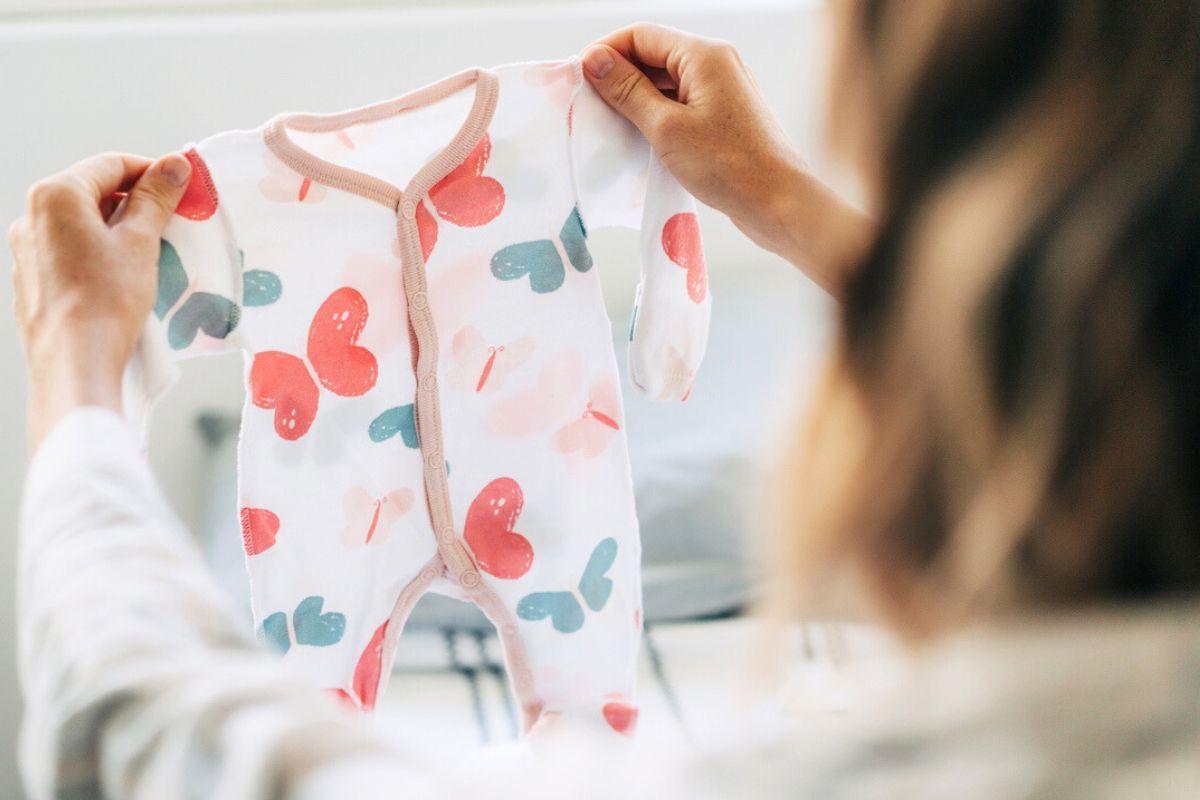
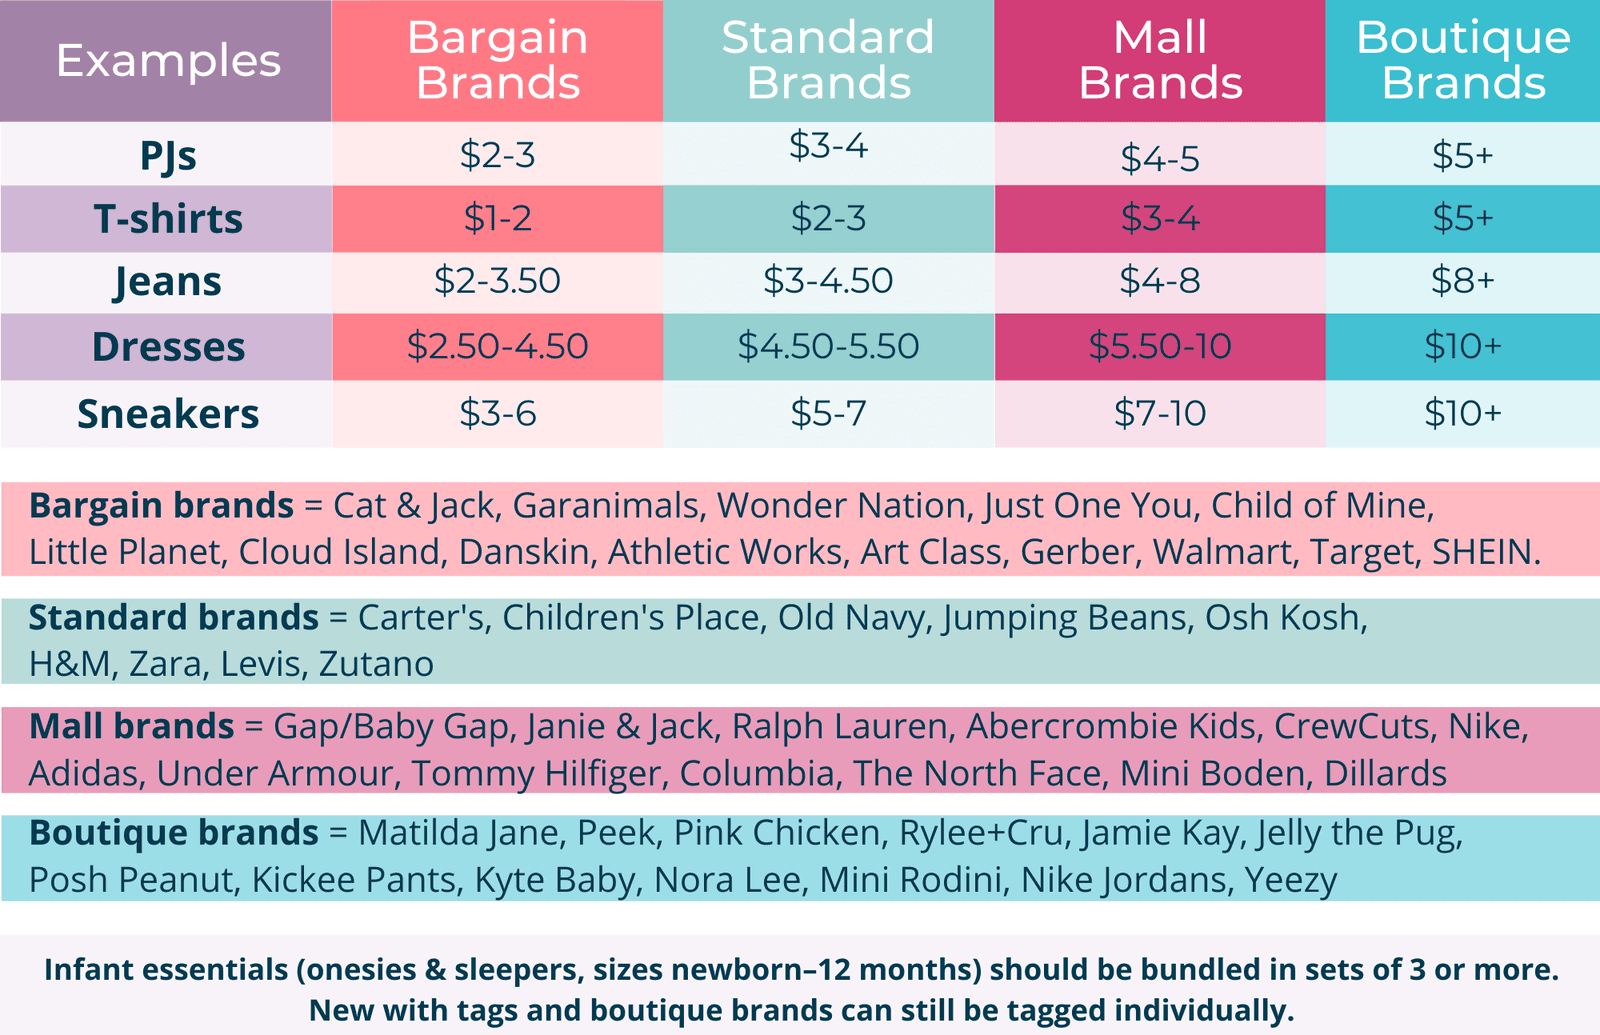
Infant essentials (onesies & sleepers, sizes newborn–12 months) should be bundled in sets of 3 or more.
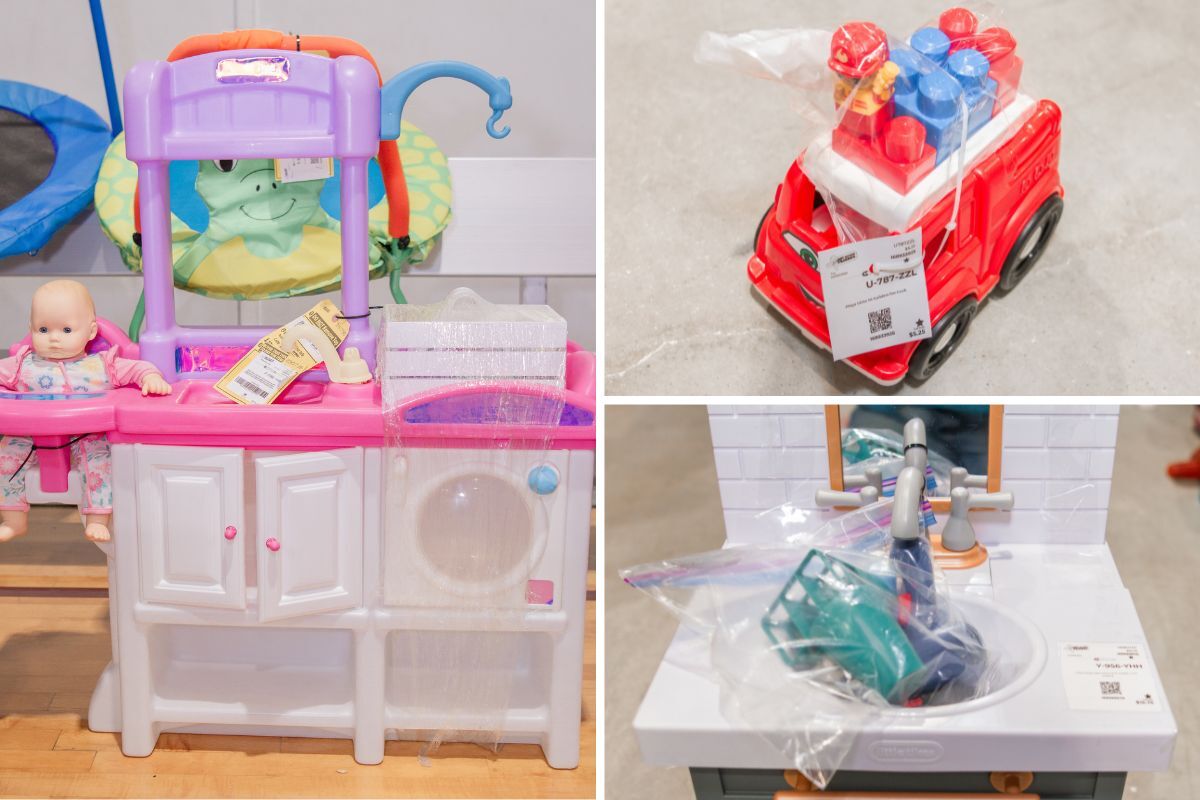
NON-CLOTHING ITEMS
For non-clothing items that have multiple pieces included (toys, accessories, infant items, etc.), place in a clear plastic bag to keep all contents together and SECURELY tape the top shut to avoid accidental opening of the bag during shopping.
We have a lot of young, curious shoppers at JBF!
If the items do not have multiple pieces, just leave as-is.

Once items are cleaned and prepped, it’s time to create & price, print, and attach your tags! This is the fun part!
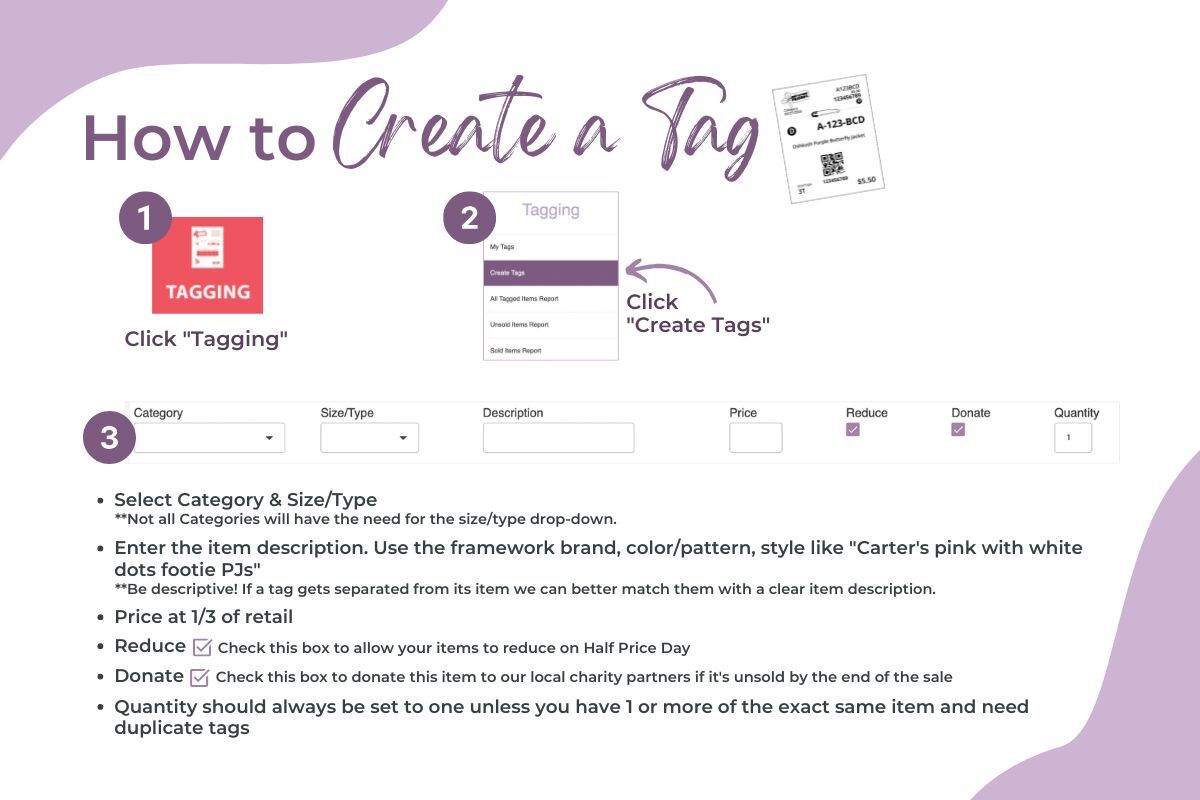
CREATE
Tags can be created on your laptop or mobile device. To get started, go to myjbftags.com, then follow these instructions or watch our Creating a JBF Tag Video:
PRICE
When deciding on prices for your items, first ask yourself this question:
“What price would make me immediately buy this item AND brag about the incredible deal to my friends?”
✅ Aim for ⅓ of the retail price
✅ Price a little higher for items brand new with tags, boutique brands, and large baby equipment like strollers. Price a little lower for infant sizes, maternity, and bargain brands (think Garanimals, Jumping Beans, Cat & Jack, etc.)
✅ Remember to bundle! Clothing (especially infant items) sell best when bundled as sets or coordinating outfits (like a shirt, pants, jacket).
Once you’ve entered your tags and are ready to print, load your printer with white cardstock paper. Next, select the tags you are ready to print and click the “print” button. Tags will print 9 per page, and once printed can be cut and attached directly to each item.
Don't have a printer? You may also save your tags as a PDF file on flash drive to print at Staples, OfficeMax or the local library (bring your own cardstock to save $$). Or, we can print your tags for you - NO CHARGE!
ATTACH
For tips on how to attach tags to items properly, check out these helpful tagging videos!
Don't hesitate to reach out for further guidance. Our Seller group is always open with fellow consignors eager to answer questions that pop up along the way!